
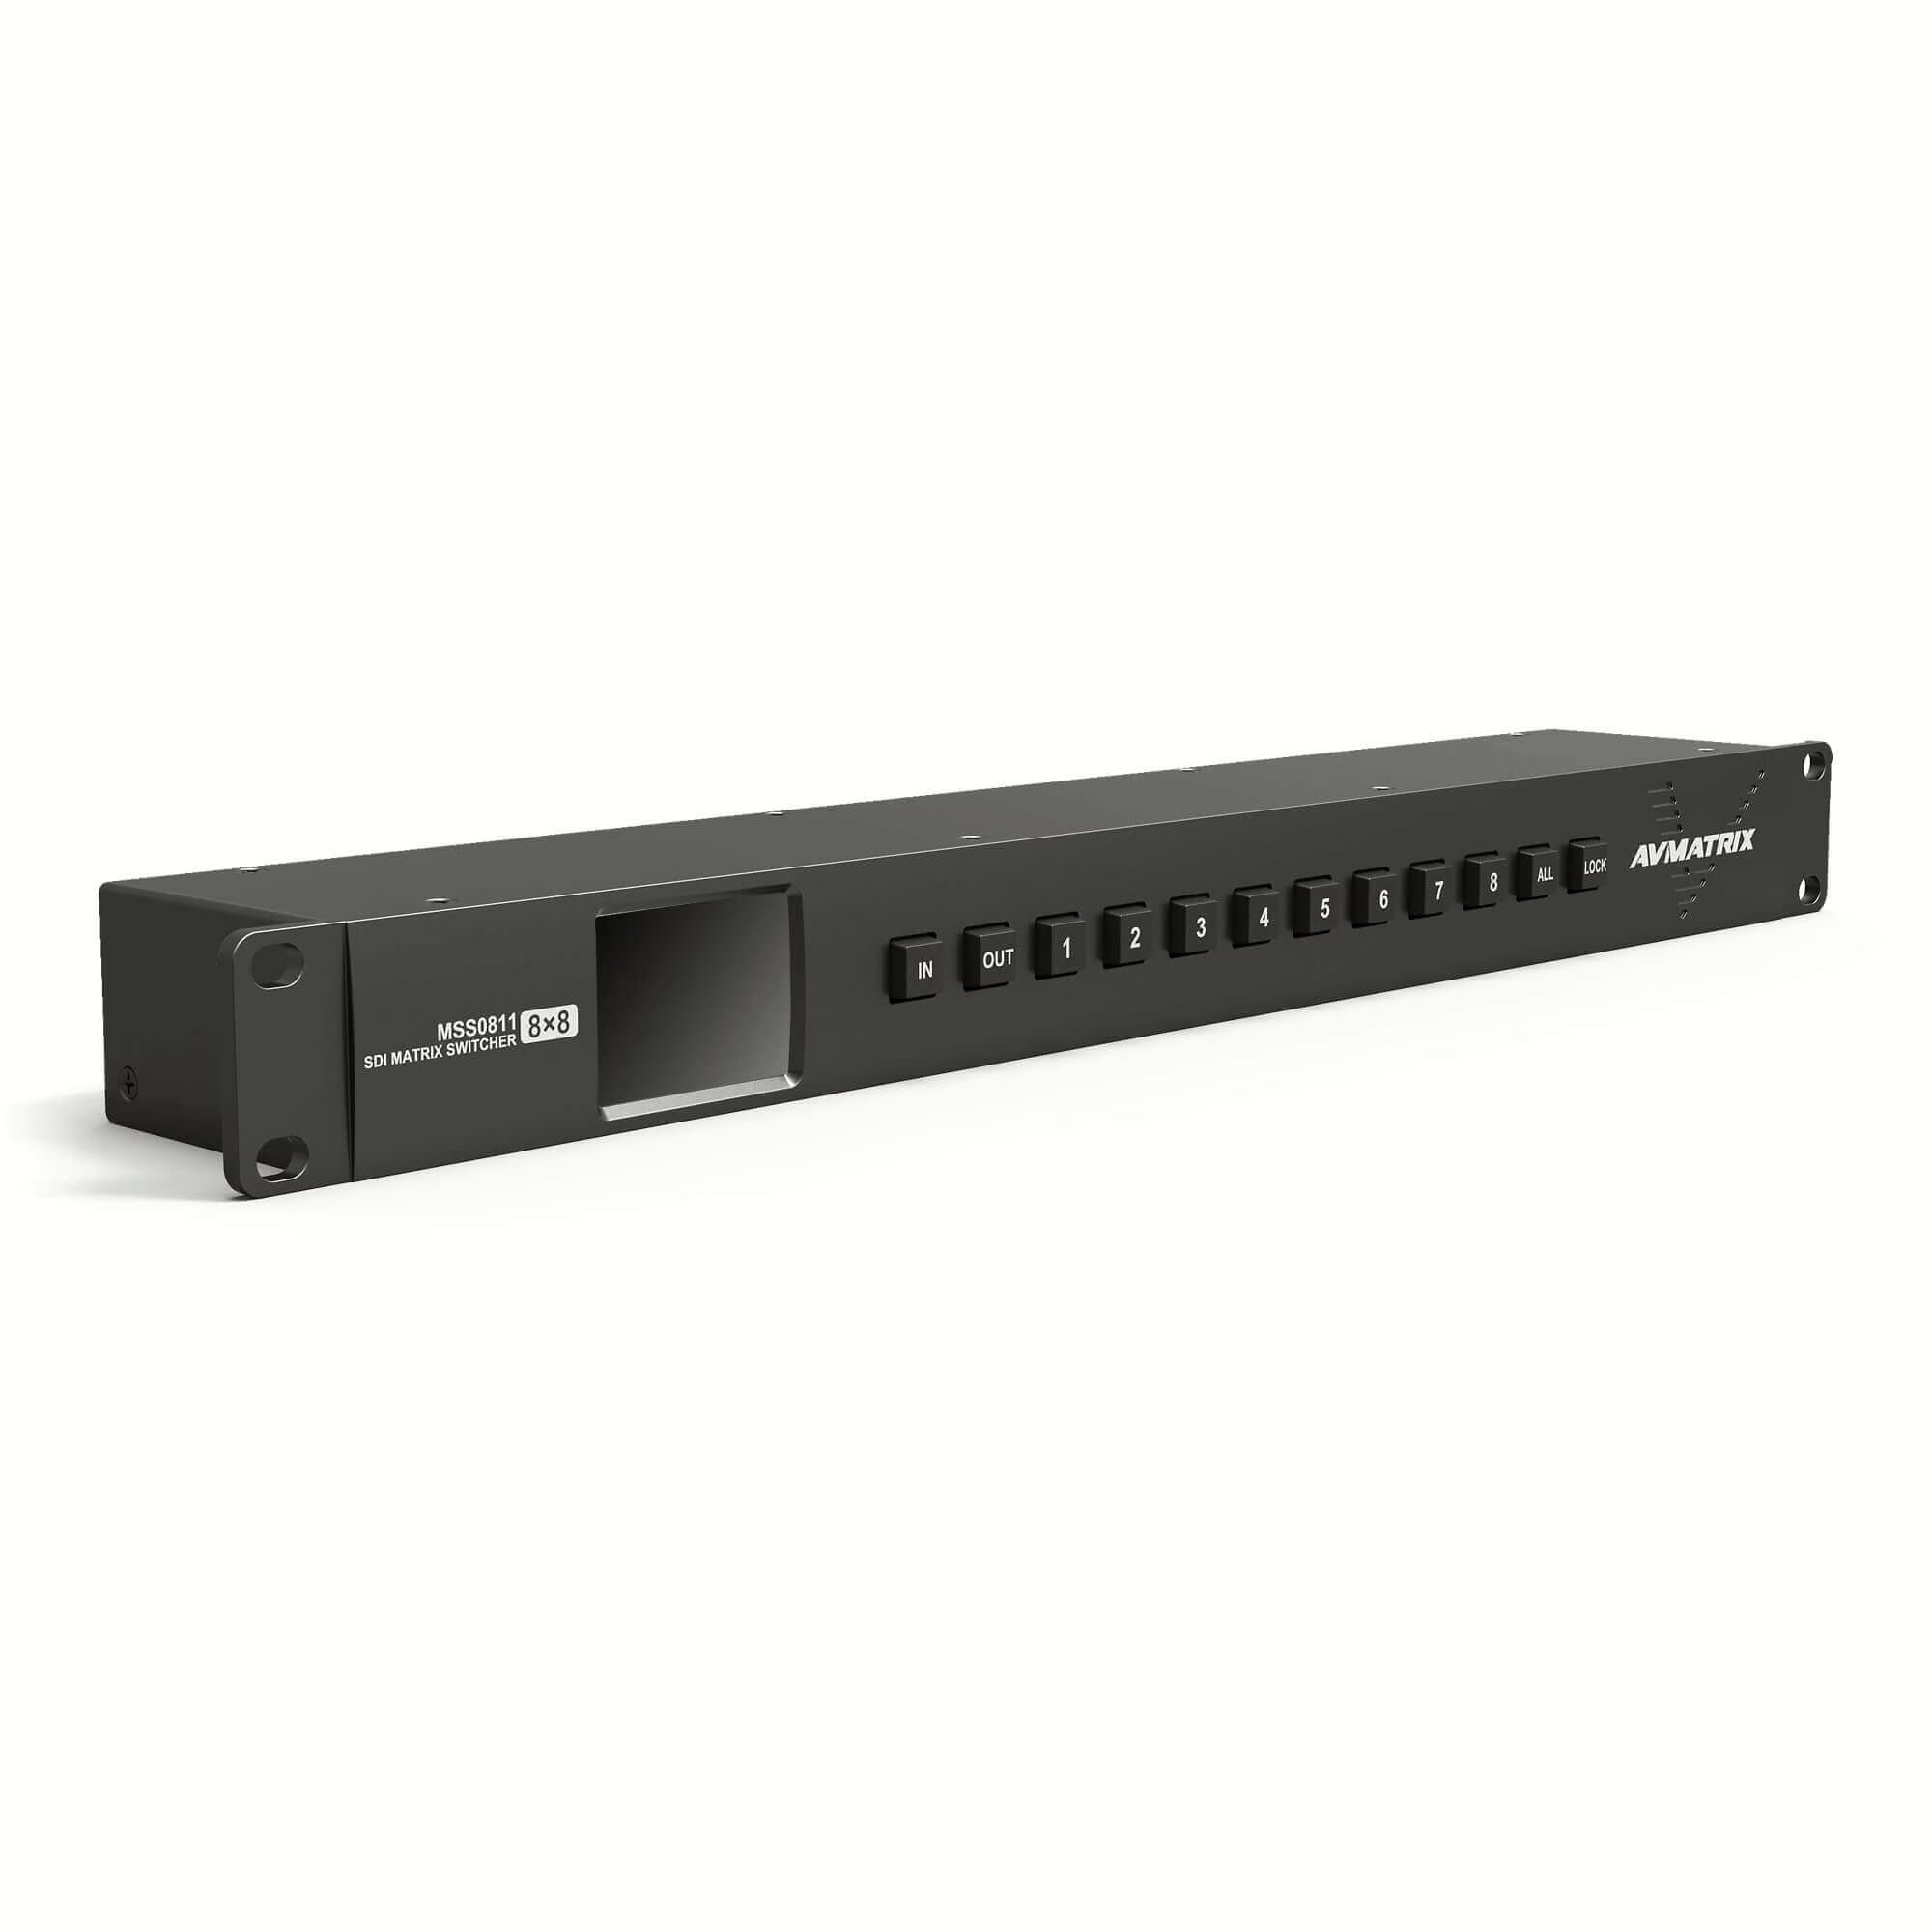
Matrix Switcher Installation Checklist for Beginners
Installing a matrix switcher for the first time goes smoothly when the steps happen in the right order. Here is the checklist we recommend.
Key takeaways
- Confirm sizing and signal format before the unit even arrives.
- Rack, power and cable the unit before connecting sources one at a time.
- Test each input individually rather than connecting everything at once and troubleshooting blind.
- Set up control (front panel first, then software) only after routing is confirmed working.
Before the unit arrives
Confirm your channel count against our sizing guide, and confirm every source is SDI or has a converter planned if it is HDMI — see coax vs HDMI.
Physical install
Rack the unit (1RU per matrix), connect power (both supplies if redundant), and run BNC cabling per our cabling guide — plan any long runs with a fiber extender from the start.
Test one input at a time
Connect and route sources individually, confirming each one reaches a display cleanly, before connecting everything at once. This isolates any single bad cable or converter instantly instead of troubleshooting a fully-cabled system blind.
Set up control last
Confirm front-panel routing works first, then set up LAN/PC software control or RS-232/RS-422 integration — see our control options guide.
Not sure which model fits your channel count and budget? Our team can size a system for you.